Difference between revisions of "Octoprint"
| Line 17: | Line 17: | ||
=== Change Filament === | === Change Filament === | ||
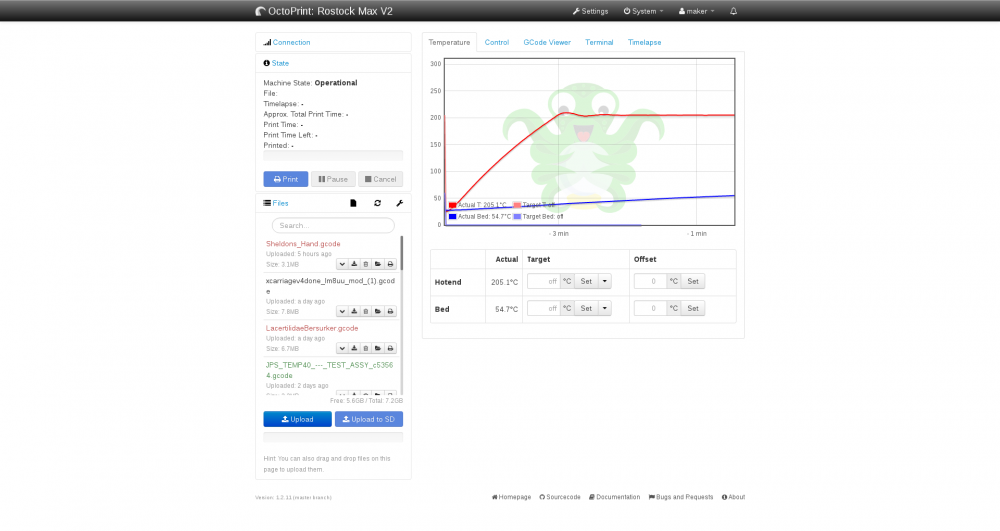
If you want to change the filament: heat up the nozzle using the drop down on the Temperature tab, activate the release lever on the feeder, and pull the filament out. Load the new filament onto the spool holder, clip the end to a point, and feed it into the machine until it starts to push out of the nozzle. '''Make sure to use the same type of filament that you specified in the slicer settings!''' | If you want to change the filament: heat up the nozzle using the drop down on the Temperature tab, activate the release lever on the feeder, and pull the filament out. Load the new filament onto the spool holder, clip the end to a point, and feed it into the machine until it starts to push out of the nozzle. '''Make sure to use the same type of filament that you specified in the slicer settings!''' | ||
| + | |||
| + | === Start Print === | ||
| + | Once everything is prepared, hit the blue print button on the left to start your print. Always watch for at least the first layer to make sure that it is adhering correctly. | ||
== During Print == | == During Print == | ||
Revision as of 23:42, 26 December 2016
3D Printing With Octoprint
The 3D printers in the Fab Lab are all controlled using Raspberry Pis that run Octoprint. Octoprint is a 3D printer controller with a web based interface.
Workflow
Before Print
Upload G-Code
If you are using Slic3r with the profiles that we have created there will be a 'Send to printer' button in the top right settings area that will send the G-Code file to the selected printer. This may take some time if you have a large file.
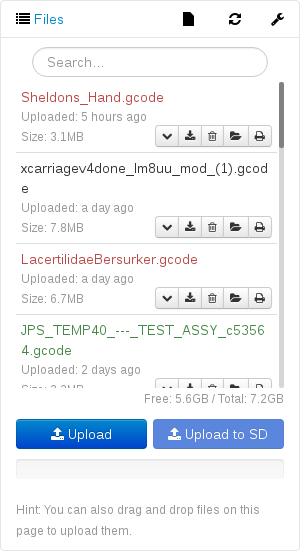
If you have the G-Code file already you can upload it using the file menu in the bottom left Octoprint interface.
Select File
Use the file browser in the bottom left of the Octoprint interface to select the file you want to print. Click the folder icon to load the file for printing.
Check Layers
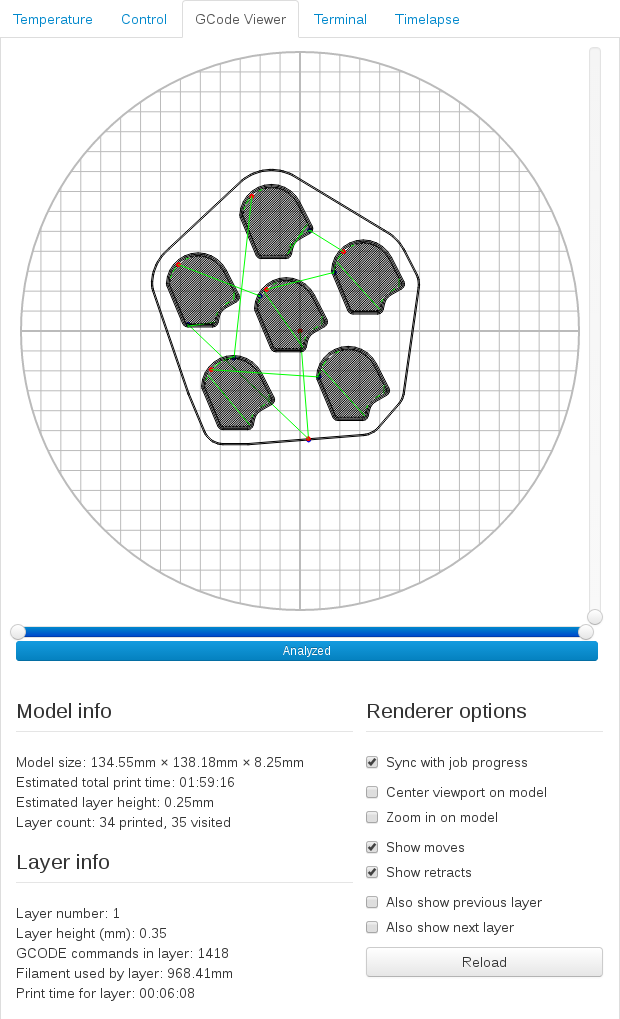
It's always good to check the G-Code Viewer tab to make sure that everything looks like it should.
Change Filament
If you want to change the filament: heat up the nozzle using the drop down on the Temperature tab, activate the release lever on the feeder, and pull the filament out. Load the new filament onto the spool holder, clip the end to a point, and feed it into the machine until it starts to push out of the nozzle. Make sure to use the same type of filament that you specified in the slicer settings!
Start Print
Once everything is prepared, hit the blue print button on the left to start your print. Always watch for at least the first layer to make sure that it is adhering correctly.
