Designing for the laser cutter
Contents
Resources
The LaserCut software is quirky, prone to crashes, and only available as a demo version on most computers. It is recommended that design work be done in a separate application, and as few steps as possible are taken within the LaserCut software.
- Inkscape is illustration software for creating or modifying vector images. It's like the 100% free and open source cousin of Adobe Illustrator. Inkscape can be used to create designs that can include both etches and cuts in a single file.
- GNU Image Manipulation Program (GIMP) is photo-editing software for creating or modifying raster images (jpg, png, bmp, etc). It's like the 100% free and open source cousin of Adobe Photoshop. GIMP can be used to create etch designs only.
Rasters
LaserCut can be used to etch raster images (jpg, png, bmp, etc) with some caveats:
- LaserCut will accept a full-color image, but will process it as a black-and-white.
- In other words, LaserCut will not scale the power of the laser according to the brightness or darkness of each pixel. As it scans your raster, it will either fire the laser at the power specified or not at all
- No, it doesn't work on grayscale images either.
- Transparency = black. Don't waste your time trying to be fancy with opacity in PNG's or GIF's - it won't work.
- For the best (and most predictable) results,
- Scale up your image
- In GIMP, select Image > Scale...
- I'd recommend 300dpi. You'll need to know your desired physical size and do the math to figure out how many pixels that is
- And convert your image to a black-and-white dither
- In GIMP, select Image > Mode > Indexed...
- Select "Use black and white (1-bit) palette"
- Set "Color dithering" to your desired effect (probably something besides "None").
- You may find better control if you convert to grayscale first, tweak brightness/contrast/levels, and then dither.
- Scale up your image
- Rasters can be set to different layers just like any other shape in LaserCut (pick the raster, then pick a color). The outline of the raster when it's not selected indicates its layer.
Dither examples
| Size | No dither | Floyd-Steinberg (normal) | Floyd-Steinberg (Reduced) | Positioned | Original |
|---|---|---|---|---|---|
| Regular |  |
 |
 |
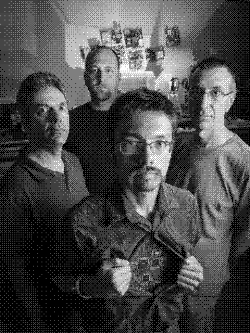
|
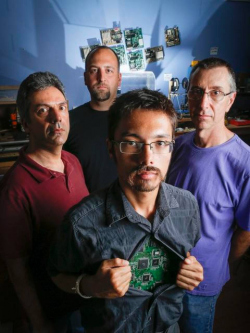
|
| 2x scaled | 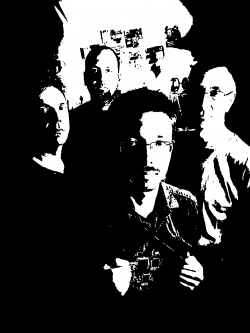 |
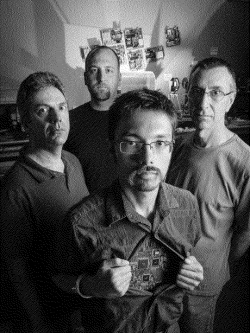 |
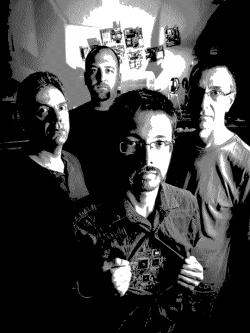 |

|
Vectors
Recommended Inkscape Settings
- Change the bounding box option from "Visual" to "Geometric". This will exclude the stroke width in the calculation of shape dimensions (which are also ignored in DXF, LaserCut, etc). To do this,
- Edit > Preferences
- Select "Geometric Bounding Box"
- Set the document page size to the size of your media. This makes it easier to visualize your design (File > Document Properties)
- It's also recommended that mm is used as the default unit
Layer support
- Inkscape layers do not translate to LaserCut layers (but you can use Inkscape layers to selectively export parts of your design to DXF)
- Instead, the COLOR of the STROKE is used as the layer color when importing to LaserCut, but the stroke style, stroke width, and fill color have no impact.
- While the LaserCut software supports 40 distinct layers, only 7 are supported with the DXF import.
- For convenience, save this LaserCut DXF Palette in your Inkscape palette's folder
- In Linux (and probably Mac?), that's ~/.config/inkscape/palettes
- In Windows, it's %appdata%\Inkscape\palettes
- If no stroke is configured for a shape, it will default as black.
Tracing
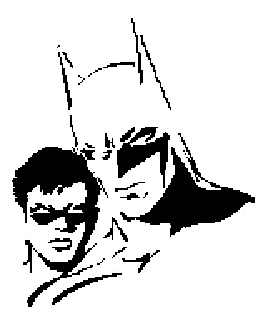
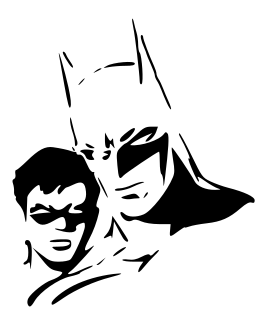
Inkscape has some pretty sophisticated vectorization algorithms built-in. This means that you can feed it a raster-type image, and it can generate a vector trace from it. This can be used to generate cut paths from a raster image - if you brought the image directly into LaserCut instead, it would only allow you to engrave it.
It can also be useful for including an image with vector designs in a single file.
| Original | Traced |
|---|---|
 |
|
- For line work (black-and-whites, line-drawings, cut-outs, silhouettes, etc), you'll probably want to use "Brightness Cutoff"
- To preserve/separate colors, select "Colors" under "Multiple Scans"
- Be sure to uncheck "Stack scans", or your shapes will overlap (and be lasered multiple times!)
DXF export from Inkscape
Inkscape can generate DXF files, which can be imported into LaserCut.
- Always save your file as .SVG - this is the native file format for Inkscape and preserves data. Use the "Save a copy" feature to export alternative file types.
- Text and some other shapes must be converted to paths before they will appear in the DXF.
- To make sure everything is a path before you export:
- Edit > Select all in all layers
- Path > Object to path
- You will lose the ability to modify some properties of some objects, like changing a text's font or a rectangle's rounded corners
- Images cannot be converted to paths in this manner. To do so, see the "Tracing" section
- To make sure everything is a path before you export:
- To export the DXF,
- Select File > Save a copy...
- Set the file type to "Desktop Cutting Plotter (AutoCAD DXF R14) (*.dxf)"
- Uncheck ROBO-Master and LWPOLYLINE
- Set the Base unit to 'mm'
- Layer export works as expected
DXF import to LaserCut
- Make sure that Inkscape has finished saving the DXF before you attempt to import it. The status bar will give an indication when it is complete
- Occasionally, LaserCut will fail to import a DXF properly. If this happens, close the application and try again. Sometimes, you may need to try more than twice. Weird, I know.
- Make sure your drawing is positioned on the virtual bed in the workspace. It's actual position doesn't matter if you're in immediate mode (default), but the software does weird things if you're off the virtual table. The easiest way to do this is to select everything, and then Center to Table
- Paths will come in as segments. If you plan to do any engraving you must unite lines, but it's a good idea to do no matter what (Tools menu).