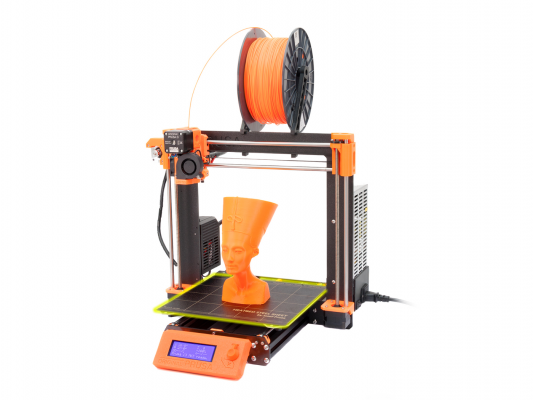
Prusa i3 MK3
| Prusa i3 MK3s+ | |
|---|---|
 Stock image of Prusa i3 MK3 | |
| Technical Specifications | |
| Build Volume | 250 x 210 x 200 mm |
| Filament Types | PLA, ABS |
| Filament Sizes | 1.75mm |
| X/Y Resolution | 0.01 mm |
| Z Resolution | ~0.01 mm |
| Nozzle Diameter | 0.4 mm |
| Max Nozzle Temperature | 300° C |
| Heated Bed | Yes |
| Max Bed Temperature | 100° C |
| Additional Information | |
| User Manual | https://manual.prusa3d.com/c/Original_Prusa_i3_MK3_kit_assembly |
| Website | Prusa i3 MK3 Store Page |
Contents
Features
These printers have a number of advanced features that make them easier to use:
- Filament sensor to detect material depletion
- Automatic bed leveling
- Head crash detection
Access Policy
See 3D_Printing#Machine_Access_Policy for access policy.
Use
See 3D Printing#Workflow for general workflow information.
DO NOT SPRAY BED WITH HAIRSPRAY!
Before Printing
In order for prints to adhere properly the bed must be clean. Wipe it down with isopropyl alcohol (NOT acetone!) before a print to ensure that the bed is free of oils and dust. There are some special cases for bed preparation depending on the material used. Certain materials can damage the bed surface if not used properly. Check this chart for more info: https://help.prusa3d.com/en/materials . This will show you which bed is best for the material that you are using. Always check that the correct bed type is selected on the LCD menu before starting your print. Using the wrong setting can damage the bed or prevent proper adhesion.
See this link for more information on bed preparation: https://help.prusa3d.com/article/6Gtws6Yqjg-pei-print-surface-preparation
Filament Change
- Press the click wheel once for menu
- Select preheat and choose the appropriate material
- Once heated, press the click wheel for menu
- Scroll down and choose 'Unload Filament'
- Remove filament immediately
- Insert new material and it should automatically load
- If it doesn't load automatically, select 'Autoload Filament' or 'Load Filament' from the menu and follow prompts
Print Removal
DO NOT USE SCRAPERS!
Lift the spring steel sheet off of the bed by the front corners. Gently flex the bed in both directions until the print loosens enough to be removed.
Acquisition
This printer was purchased using a combination of membership dues and targeted donations. Thanks to everyone who donated!