Rocket ship playhouse
From MakeICT Wiki
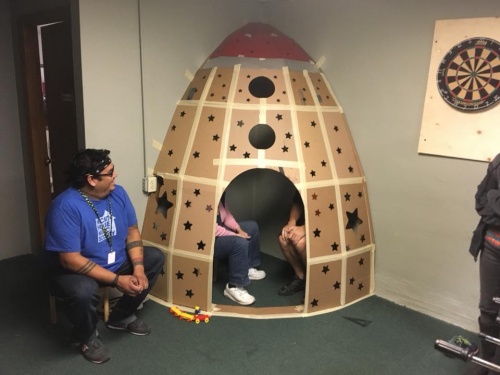
Jump to navigationJump to searchOn November 13 2017 we built a cardboard rocket ship playhouse for our kids area. We used our Laser Cutter and lots of cardboard and masking tape. Here's how it went.
Supply List
| Piece | Cardboard starting dimensions | Quantity needed |
| Center bottom | 7x28 | 1 |
| Edge bottom | 7x28 | 2 |
| Level 1 | 14x19 | 4 |
| Level 2 | 14x22 | 4 |
| Level 2 (door frame) | 12x14 | 1 |
| Level 3 | 13x24 | 4 |
| Level 3 (center) | 12x18 | 2 |
| Level 4 (center) | 15x19 | 1 |
| Level 4 (edge) | 10x13 | 4 |
| Level 5 | 9x22 | 2 |
| Level 6 | 13x13 | 3 |
| Level 7 | 9x12 | 3 |
| Side 1 | 5x16 | 2 |
| Side 2 | 5x23 | 2 |
| Side 3 | 5x24 | 2 |
| Side 4 | 7x30 | 2 |
| Side 5 | 6x15 | 2 |
| Circle window frame | 11x11 | 2 |
| Star window frame | 11x11 | 2 |
Instructions
Download File:Rocket house.svg
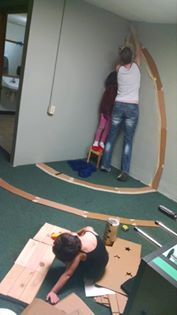
After cutting all pieces out, tape the bottom guide strips to the floor, and the side pieces up the wall as a guide.
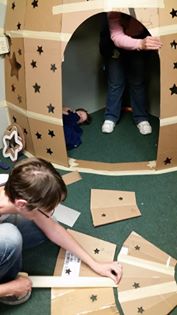
Then tape everything else together. We built ours from the bottom up, one level at a time, with masking tape. It might be easier to tape together whole strips at a time. Let us know!


